Brave New Wonders Controls & UI Tips
Operate inventory, build menus, and the behaviour editor like a factory commander.
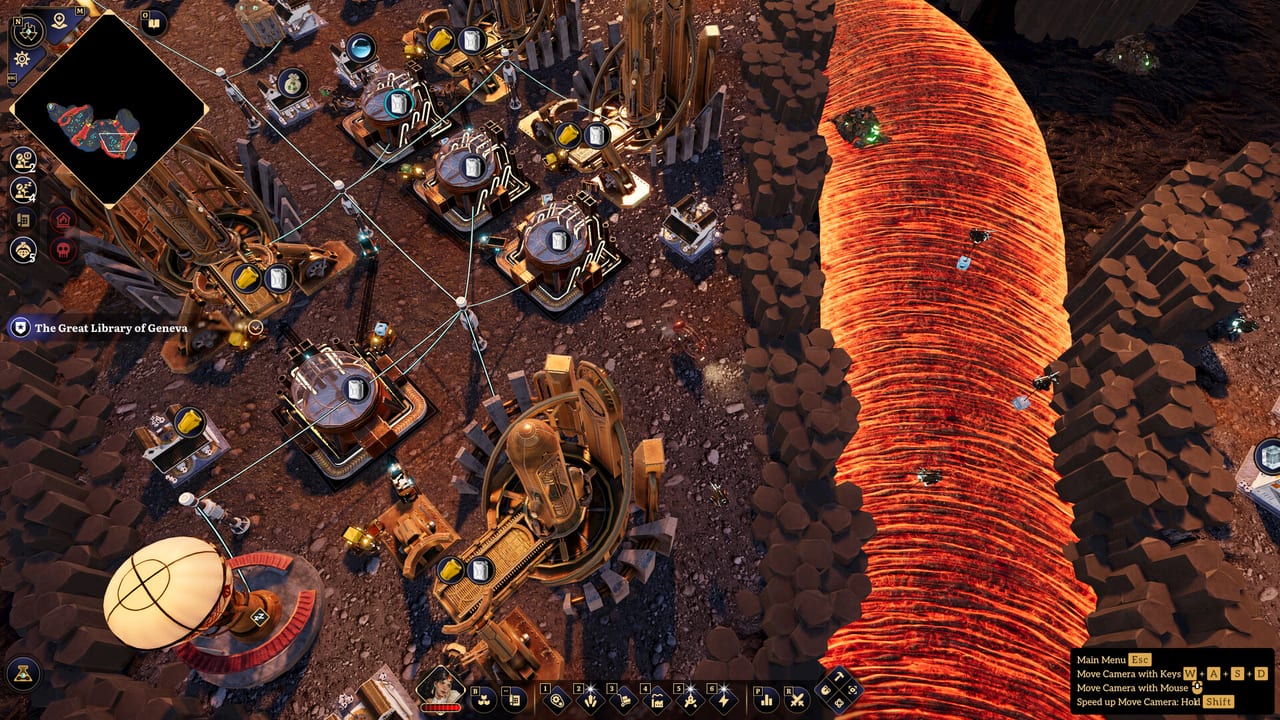
Brave New Wonders is won with clear intent, not with belt spaghetti. This controls guide focuses on the verbs the interface expects: select, transfer, split, deploy, instruct, and observe. Exact default keybinds can vary because the game supports custom key bindings (added during the demo and carried into 1.0). If a shortcut differs on your install, open the bindings menu and map the same actions listed here. For broader setup context, return to the Players Hub or jump into Getting Started.
Camera and map reading
Treat the camera as a logistics instrument. Zoom out to judge travel distances between mines, warehouses, factories, and turrets. Zoom in when placing buildings or confirming that an automaton actually reached a destination marker. Island play later adds vertical and long-range travel via the airship Wonder, so early camera discipline — always knowing where ore, storage, and threats sit — prevents “lost robot” confusion.
When you assign destinations from the map inside a command flow, pick the specific building or landmark you mean. Vague picks create vague behaviours. Name mental labels for your first Americas cells (Ore North, Warehouse Hub, Smelter Row) so text commands stay readable when you revisit them in the Tools cheat sheet style.
Inventory transfer: left-click, Shift, right-click drag
Factory games live or die on inventory hygiene. In Brave New Wonders gameplay, the common transfer pattern matches what players expect from modern PC builders:
- Left-click to transfer items between inventories (player, chest, warehouse UI, automaton cargo as available).
- Shift + left-click to move a full stack in one action when you need bulk restocking.
- Right-click drag to split stacks — essential when you only want a partial load of ammo, fuel cells, or intermediate components.
Practice these three gestures before you write complex conditional routes. Many “automation failures” are actually empty warehouses, half-filled cargo, or turrets starved because nobody split ammo cleanly. Pair transfer habits with the ammo-delivery ideas on Defense and the sample prompts on Tools.
Build menu: deploying automatons and structures
Open the build menu to place production buildings, warehouses, defense pieces, and to deploy automatons. Two workhorse types matter immediately:
- Miner — prioritise extraction loops early so raw inputs never idle your smelters.
- Mover — prioritise fast carrying between nodes once ore is flowing; Movers are your belts.
Place with intentional spacing. Because there are no conveyor belts, travel time is throughput. Crowding every machine into one blob without warehouse buffers forces Movers into constant path fights. Leave lanes for patrol and combat clearance; dynamite and old-machine fights still happen on the same floors you automate.
After placement, open the unit or building panel and confirm it has a behaviour. A deployed automaton with no task is just expensive scenery. Blueprint paste later preserves behaviours, so a correct first cell is worth polishing — see priorities on the Tier List Hub and scaling notes under Automation.
Behaviour editor: presets versus custom text
The behaviour editor is the heart of Brave New Wonders. You have two comfortable on-ramps:
- Presets — choose simple destination-based templates for shuttle runs and basic mining. Great for the first hour.
- Custom plain-text commands — write instructions the way you would brief a human worker. The game parses your text into a visual behaviour graph of actions and conditions (move, pick up, deposit, wait for signal colour, check inventory thresholds, and similar nodes).
You can also assemble the graph manually if you prefer not to use text. Either way, nothing should surprise you on the factory floor: review the generated nodes before you trust a fleet. For language and phrasing patterns, study Text Commands and copy starter lines from Tools.
Writing commands that parse cleanly
- State order: move to A, pick up X, move to B, deposit X.
- Name locations that exist on your map picks (warehouse, wonder, turret line).
- Add conditions only after the happy path works: “When RED signal is detected at the warehouse…” is powerful, but debug the unconditional loop first.
- Prefer one responsibility per automaton early. A Miner that also tries to be a combat courier will stall both jobs.
Colored signals let factories, wonders, and automatons coordinate. A classic pattern: Wonder shows red when fuel is low; a Mover watches for red, fetches a fusion cell from a warehouse, and deposits it. That signal habit scales better than constant manual babysitting and ranks high on the Tier List Hub.
Selection, inspection, and iteration
Click units and buildings to inspect cargo, assigned behaviour, and status. When something idles:
- Confirm the behaviour still references valid destinations.
- Check inventories for full outputs or empty inputs.
- Look for combat interruptions or blocked paths.
- Re-open the editor and simplify the graph before adding more conditions.
Iterate like a programmer with a smaller ego: delete the clever bit, restore a preset, then reintroduce one condition. Blueprints will multiply whatever you leave behind — clean or messy.
Combat-adjacent controls
You will place turrets, use dynamite, and interact with relics while expanding. Keep a hot path for ammo from warehouse to turret. Right-click splitting helps you seed multiple towers without emptying the stockpile in one mis-click. Do not neglect defense timing; read Defense once your first ore loop is stable, not before you can feed it.
Accessibility of bindings
Because custom key bindings exist, this page intentionally avoids pretending a single universal WASD-or-hotbar layout is mandatory. Bind what your hands already know from other factory games, then keep the transfer and editor habits consistent. Remap camera modifiers if you frequently mis-rotate while placing large footprints.
Practice drill (ten minutes)
- Deploy one Miner and one Mover from the build menu.
- Give the Miner a preset mining loop; verify ore appears in storage.
- Write a short custom command for the Mover: move between mine output and warehouse.
- Practice Shift+left-click bulk moves and right-click split into a turret inventory.
- Add one signal condition only after the shuttle works.
- Blueprint the cell and paste it once — confirm behaviours survived.
When the drill feels boring, you are ready for Automation, island goals on Islands, and Wonder travel on Wonders. For patch-era changes versus demo muscle memory, skim the Updates Hub.
Master the UI verbs first. Fancy prompts come second. That order is what separates a calm Americas start from a warehouse full of idle machines.
Frequently Asked Questions
Quick answers to the most common Pioneer questions.
What are the main inventory transfer clicks?
Left-click transfers items, Shift+left-click moves full stacks, and right-click drag splits stacks. Exact keybinds for other actions can be remapped in settings.
Do I have to use plain-text commands?
No. Start with behaviour presets, use custom text when you need conditions, or build the visual behaviour graph manually if you prefer.
Why is my automaton idle?
Check that destinations still exist, cargo is not blocked by full or empty inventories, paths are clear, and the behaviour graph matches the job you intended.
Where can I copy example commands?
Use the Tools hub command cheat sheet, then deepen phrasing on the Text Commands and Automation guides.